


Battery failure is a surprisingly common ride-ending event, accounting for up to a third of all motorcycle breakdowns. That frustrating click from a dead battery, however, is easily avoidable.
The solution is the simple process of charging a motorcycle battery with a battery charger. This guide provides the direct, step-by-step method you need.
We will cover safety checks, making proper connections, and selecting the right charger to help you get back on the road quickly and safely, eliminating the need for roadside assistance.
Table of Contents
- First Things First: Your Safety Checklist
- What Type of Charger Charges Your Motorcycle Battery?
- Step-by-Step Guide to Charging a Motorcycle Battery
- How Long Does It Take to Charge a Motorcycle Battery?
- Troubleshooting
- EBL Pro Tips
- FAQ
First Things First: Your Safety Checklist
Before you begin the process, taking a moment for safety prep is the smartest thing you can do.
Motorcycle batteries, especially traditional lead-acid types, can release hydrogen gas during charging. Hydrogen is a highly flammable gas.
That’s why proper ventilation is your number one priority. Here’s your essential safety checklist:
1. Find a Ventilated Space.
Never attempt charging motorcycle batteries in a sealed room or a cramped, enclosed space. An open garage with the door up, a carport, or even a covered patio is ideal. You want any of those pesky hydrogen fumes to dissipate harmlessly.
2. Gear Up with PPE.
We’re not talking about your riding leathers here. We mean Personal Protective Equipment. Grab a pair of safety glasses and some nitrile gloves.
3. No Sparks Allowed.
Keep open flames, cigarettes, and anything that could create a spark far away from your charging station. That flammable hydrogen gas we mentioned is just waiting for an excuse to cause a bad day.
4. Clean and Dry.
Make sure your workspace and the battery itself are clean and dry. Water conducts electricity, and you want the current from your charger going into the battery, not somewhere it shouldn't.
With your safety gear on and your workspace prepped, you’ve built a solid foundation for a successful and uneventful charge.
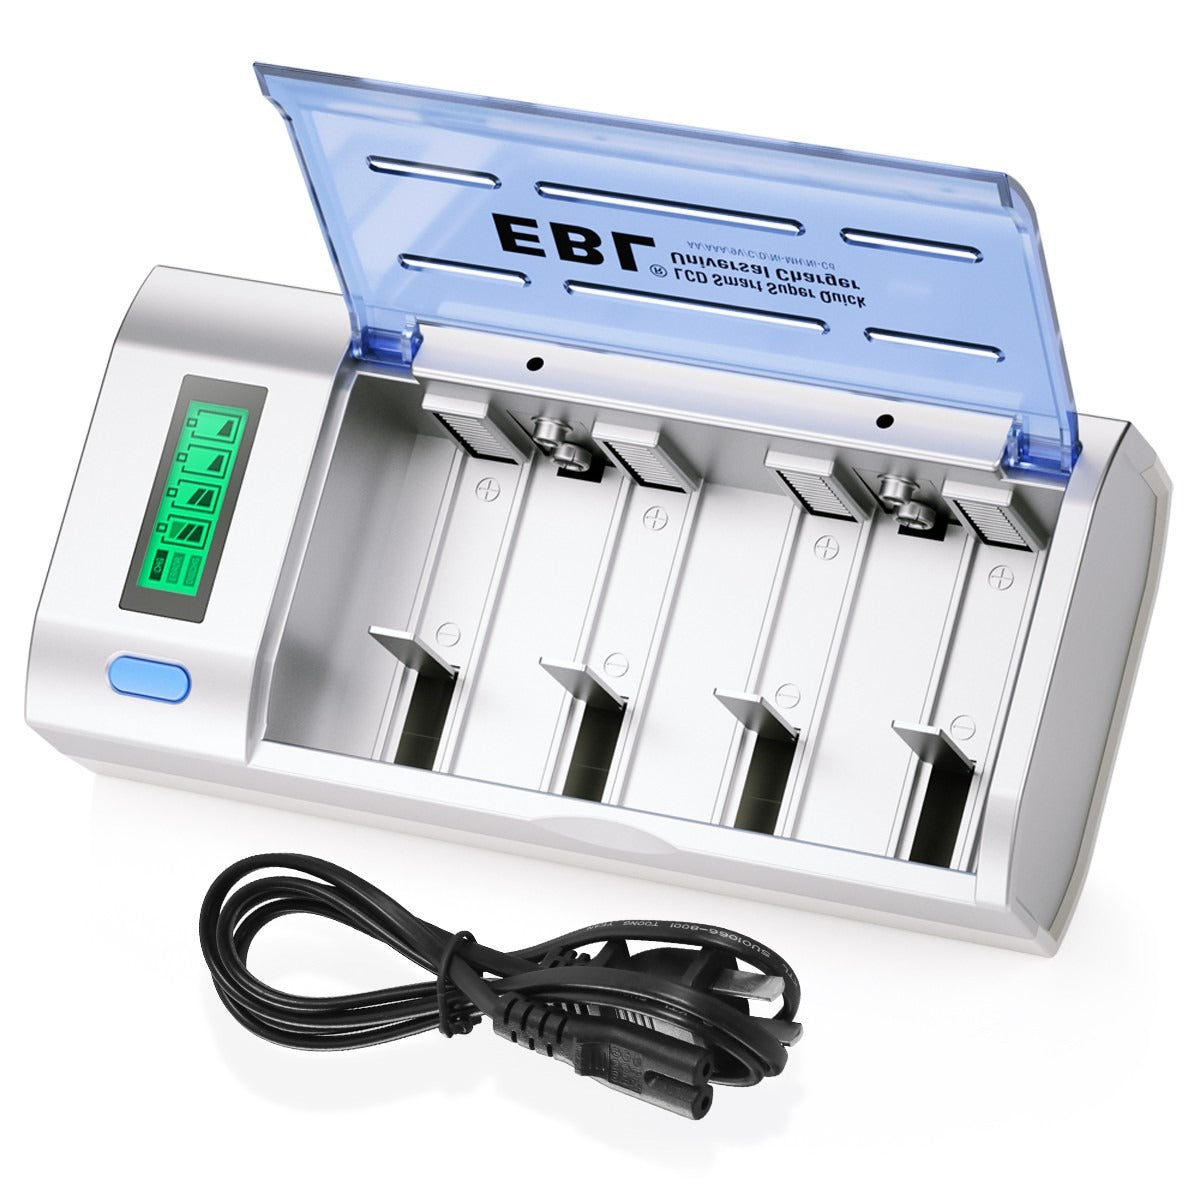
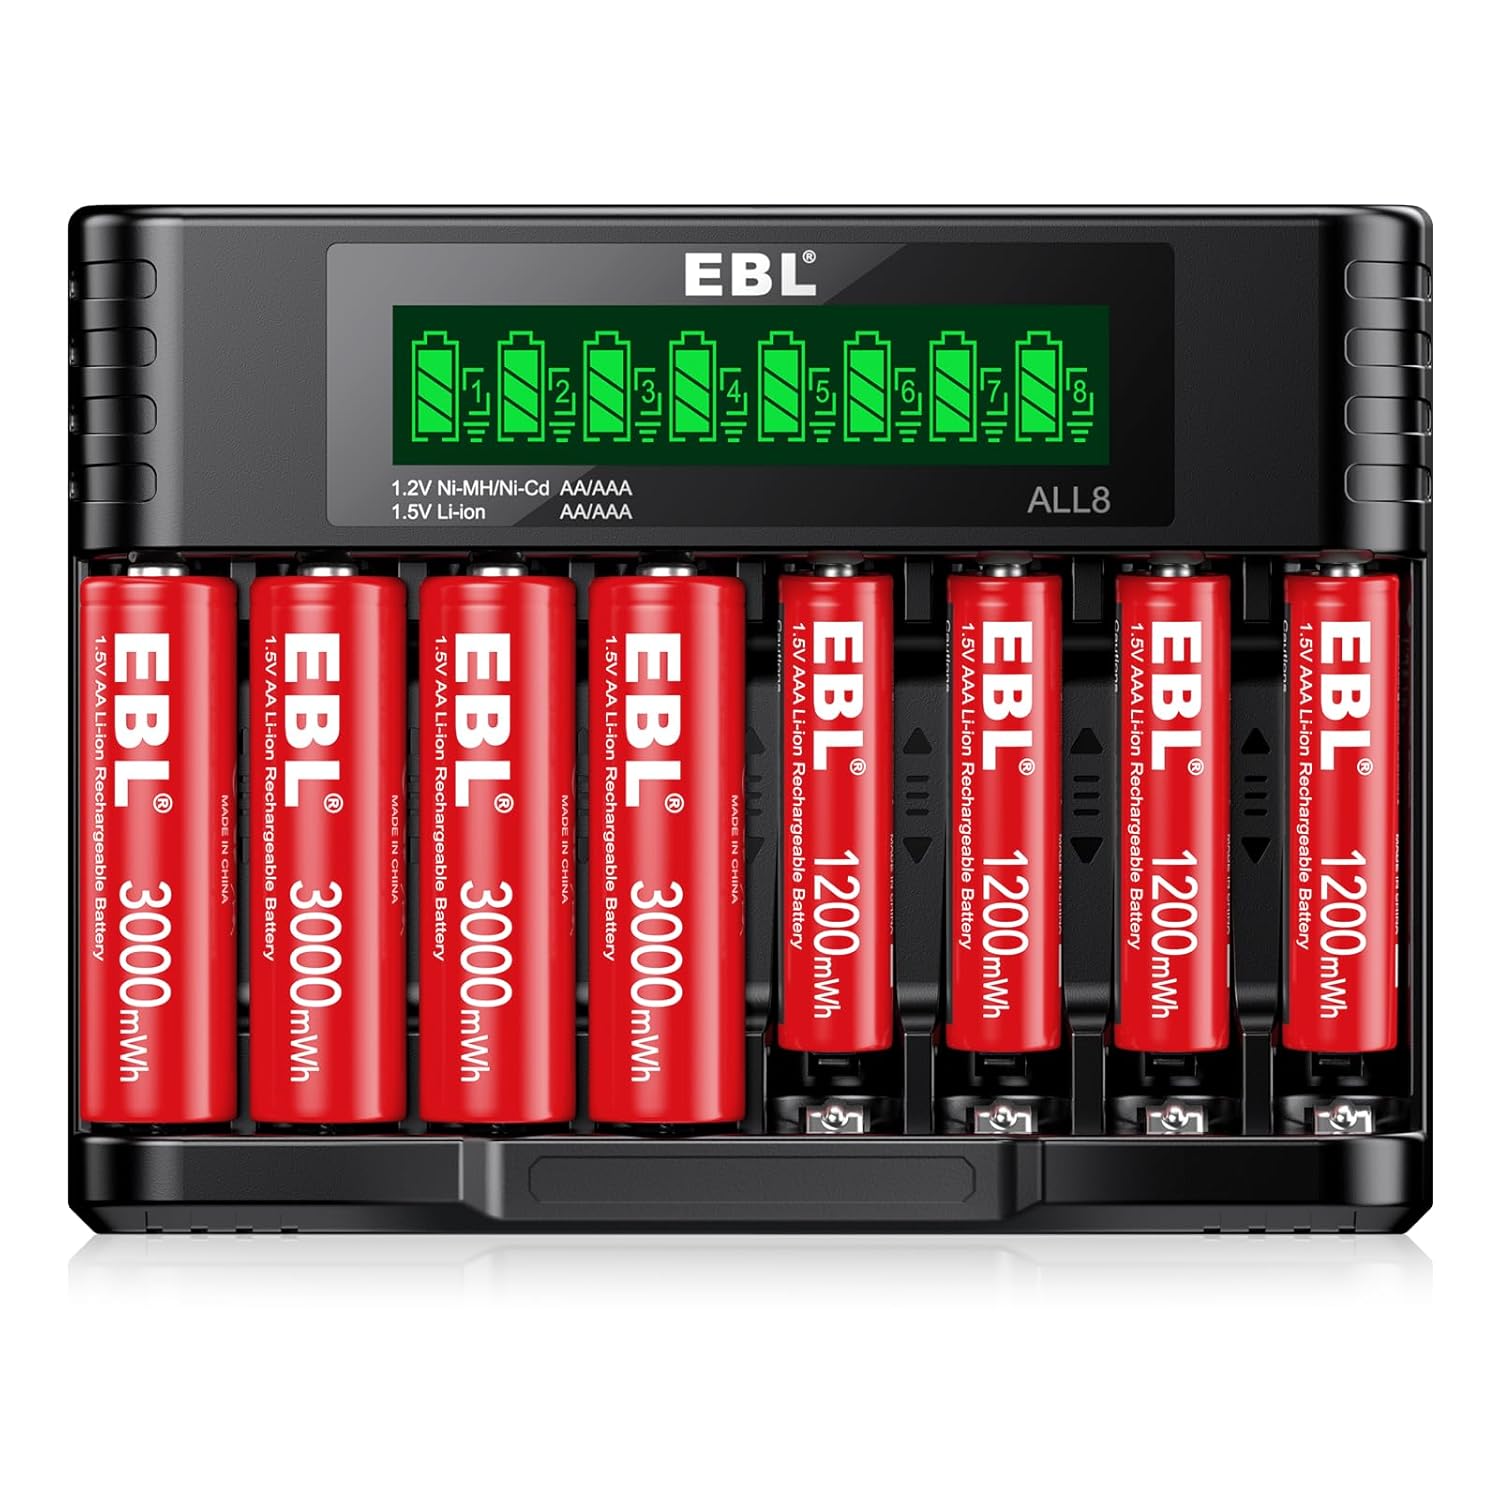
What Type of Charger Charges Your Motorcycle Battery?
To get the job done right, you need the right tools. We first need to identify what kind of battery you're working with.
Motorcycle Battery Types
Using the wrong charger can lead to poor performance or even damage. Most motorcycles today have one of three types, and you can usually find the type printed on the battery’s casing:
Conventional Lead-Acid: The old-school, tried-and-true workhorse. These are often semi-transparent and sometimes have removable caps for adding distilled water. They require more maintenance.
AGM (Absorbent Glass Mat): This is the most common type in modern motorcycles. AGM is a type of sealed lead-acid battery where the electrolyte is absorbed into fiberglass mats, making it spill-proof and more resistant to vibration. It’s a fantastic, reliable power source for most riders.
Lithium (Li-ion or LiFePO4): The lightweight champion for the performance-minded. As detailed on its Wikipedia page, a lithium-ion battery offers significant weight savings and can have a longer lifespan, but it requires a specific charging profile. Using a non-lithium charger on one of these is a recipe for disaster.
Smart Chargers vs. Trickle Chargers
You’ll often hear two terms thrown around: “trickle charger” and “smart charger.” Let’s clear up the confusion.
Smart Chargers
A smart charger is like a high-tech irrigation system for your battery.
It’s a microprocessor-controlled device that actively communicates with your battery. It analyzes battery voltage, health, and chemistry, and then delivers a precise, multi-stage charge.
A battery's lifespan is directly proportional to how intelligently it's charged. Multi-stage charging isn't a feature; it's a fundamental requirement for battery health.
This multi-stage process often includes:
- Desulfation: A pulse charge to break up lead sulfate crystals on older batteries.
- Bulk Charge: Delivers the majority of the charge at a constant, maximum amperage.
- Absorption: Lowers the amperage as the battery nears full capacity to avoid overheating.
- Float/Maintenance: Once full, it provides just enough power to keep the battery topped off, allowing you to leave it connected for months without risk.
This is the way to smart-charge motorcycle battery systems in the modern era.
Trickle Chargers
A trickle charger is like a leaky faucet; it drips a low, constant stream of power indefinitely.
If you forget about it, it will keep dripping power long after the battery is full, effectively “drowning” it by overcharging.
This can boil the electrolyte and permanently damage the internal plates.
Step-by-Step Guide to Charging a Motorcycle Battery
Alright, the theory's over. Let's get our hands dirty.
Step 1: Disconnect and Remove the Battery (If Needed)
We always recommend removing the battery from your motorcycle for maximum safety and ease of access.
Ensure the ignition is off and the key is completely out of the bike.
When you’re ready to disconnect, there is a golden rule: Negative Off First.
1. Start by unscrewing and removing the negative (black) cable. Tuck it away to the side so it can’t accidentally touch the terminal again.
2. Then, unscrew and remove the positive (red) cable.
Why the specific order?
Think of your motorcycle's metal frame as a giant negative ground.
If your wrench touches the frame while you're loosening the positive terminal (with the negative still connected), you’ve just created a short circuit.
Sparks will fly, you might weld your wrench to the frame, and you’ll have a very bad day.
Let's avoid that.
Step 2: A Quick Inspection and Cleaning
Now that the battery is free. Look for any cracks, leaks, bulging, or swelling on the battery sides.
If you see significant bulging, your battery is toast. Do not attempt to charge it; it’s time to recycle it responsibly.
Next, look at the two metal posts, the terminals.
See any chalky white or greenish gunk? That’s corrosion, and it's a terrible conductor of electricity.
A clean terminal means a solid connection and an efficient charge.
A simple wire brush or a paste made from baking soda and water will scrub it right off.
Step 3: Connecting Your Smart Charger
With clean terminals, you're ready to make the connection.
Here's how to charge a motorcycle battery with a charger's clamps. Just remember the rule: "On in reverse."
First, connect the positive (red) clamp from your charger to the positive (+) terminal on the battery.
Then, connect the negative (black) clamp to the negative (-) terminal.
This order prevents any accidental sparks from the final connection.
Step 4: Power Up and Select the Right Mode
This is the easy part. The charger takes over from here.
Plug your smart charger into the wall outlet. You’ll see its lights turn on as it begins to analyze the battery's condition.
If your charger has different modes (like for AGM or lithium motorcycle battery charging), select the one that matches your battery type.
Now, just let the microprocessor do its thing.
How Long Does It Take to Charge a Motorcycle Battery?
You’ve got everything hooked up safely, and the charger is doing its thing.
Now comes the waiting game.
But for how long?
The answer is more of an “it depends” situation, but we can demystify it for you.
The time it takes for a full motorcycle battery charge is a function of a few key variables.
Factors Influencing Charge Time
Think of it like downloading a file. Your charger's amperage is your internet speed, the battery's capacity is the file size, and its starting voltage is how much of the file you've already downloaded.
- Charger's Amperage (Amps): This is the speed at which electricity flows from the charger to your battery. A 4-amp charger will work much faster than a 1-amp charger.
- Battery's Capacity (Amp-hours or Ah): This is the size of your battery's "fuel tank." Most motorcycle batteries are in the 8-20 Ah range. A larger Ah number means a bigger tank that takes longer to fill.
- State of Charge: Was the battery just a little low from sitting for a week, or was it completely dead after you accidentally left the ignition on all night? The starting point makes a huge difference.
Knowing this helps you plan. If you find a dead battery Saturday morning before a group ride, a high-amperage charger might get you on the road in time for lunch, while a 1-amp maintainer might mean you're joining them next weekend instead.
Charging Time Chart
So, how do you charge a motorcycle battery and get a rough estimate of the time? Here’s a handy cheat sheet.
We’ll assume you have a typical 12Ah motorcycle battery that is about 50% discharged.
|
Charger Amperage |
Approx. Time to Full Charge (Estimated) |
|
1 Amp |
6-7 hours |
|
2 Amps |
3-4 hours |
|
4 Amps |
1-2 hours |
A quality smart charger might take a bit longer because it's running through its multi-stage health checks and carefully tapering the current to protect the battery. That extra time is an investment in your battery's long-term health.
But what if you've waited for hours and the charger lights haven't changed, or worse, are blinking "error"?
Troubleshooting
You’ve done everything right, but your charger is blinking an error light, or just… sitting there, doing nothing.
Don't panic.
Nine times out of ten, the solution is simple.
What to Do If Your Motorcycle Battery Is Not Charging
Before you condemn the battery and start shopping for a new one, we need to run through a few diagnostics.
- The Quick Troubleshooting Checklist
-
- Check the Outlet: This might sound silly, but is the charger plugged into a working wall socket? Grab your phone charger or a lamp and test the outlet to be sure.
- Check the Connections: Are the clamps making solid, direct contact with the metal of the battery terminals? A weak or corroded connection is a common roadblock for the electrical current.
-
Check the Charger’s Fuses: Some chargers have a small, replaceable inline fuse. Check your charger's manual to see if it has one and if it might have blown.
- Signs Your Battery May Be Beyond Saving
-
- The Bulge: If the sides of your battery case are swollen or bulging, stop immediately. This indicates an internal failure, and continuing to charge a motorcycle battery in this state is a safety risk.
- Physical Leaks: Any cracks or leaking fluid are a clear sign that the battery's integrity is compromised.
- Extreme Heat: A battery will get slightly warm during charging, but if it becomes genuinely hot to the touch, disconnect it.
Often, these issues are caused by advanced sulfation, a process where lead sulfate crystals build up on the internal battery plates to a point where they can no longer accept or hold a charge.
At that point, attempting to charge it is not only futile, it's a hazard.
How to Charge a Motorcycle Battery Without a Charger (And Why It's Risky)?
You might see this in old movies - the desperate roadside jump-start from a car. But in the real world, this is a huge gamble.
Here’s why.
A car's charging system is designed for a massive car battery and can push out over 100 amps.
Your bike's smaller battery and delicate electronics, like the ECU (Engine Control Unit) or rectifier, are designed for a fraction of that amperage.
Hitting them with that much power is like trying to fill a water balloon with a fire hose. The results are explosive and expensive.
It can fry your bike's electrical system, turning a $50 battery problem into a $1,000 electronics nightmare.
The only truly safe answer for how to charge a motorcycle battery is to use a charger designed for it.
Troubleshooting can be a headache, but understanding these points can save you time and money.
EBL Pro Tips
Fixing a dead battery is one thing, but what if you could prevent the problem in the first place?
This is about moving from reacting to a problem to building reliability into your routine.
Pro Tip #1: Beat the "False Peak" for a Deeper Charge
Have you ever noticed your smart charger says “full” way too quickly?
This can happen, especially with AGM batteries that have been sitting unused for a while.
The charger gets tricked by a “surface charge” — it looks like the battery is full on the outside, but inside, it’s not really charged all the way.
Here’s a simple trick:
After your charger says it’s done and switches to “maintain” mode (which means it’s just keeping the battery topped up), unplug it and wait about an hour.
Then, plug it back in:
- If the charger immediately goes back to “maintain” or “float” mode, your battery is truly full. You’re good to go.
- If the charger starts charging again (goes back to “bulk” or “absorption” mode), it means the battery still needs more time to soak up a deeper, real charge. Let it finish charging.
Doing this quick check makes sure your battery is really full, so you get the most power and reliability for your next long ride.
Pro Tip #2: Hunt Down "Parasitic Drains"
If you find your battery is consistently low even with regular riding, you might have a "parasitic drain."
This is a sneaky thief in your electrical system, an aftermarket alarm, a USB port, or a faulty component, that slowly drains power even when the key is off.
The Pro Move: You can diagnose this yourself with a basic multimeter.
Step # 1: Set your multimeter to a low DC amperage setting (e.g., 200mA).
Step #2: With the bike completely off, disconnect the negative battery cable from the battery terminal.
Step #3: Connect the multimeter "in series" by touching one probe to the negative battery post and the other probe to the disconnected negative cable. You are now measuring the electricity flowing out of the battery.
Step #4: A normal reading should be very low, typically under 10 milliamps (mA).
If you see a reading of 30mA, 50mA, or higher, you've found your culprit. Something on the bike is drawing power when it shouldn't be.
From there, you can start pulling fuses one by one to isolate the faulty circuit.
Pro Tip #3: The Weekly Rotation for Multiple Toys
Many customers don't just have one ride; they might have a motorcycle, an ATV, or a personal watercraft. You don't need a separate maintainer for each one.
The Pro Move: Use one high-quality smart charger and rotate it weekly.
- Connect the charger to Bike A for the first week of the month.
- The next week, move it to your ATV.
- The week after, move it back to the bike or another toy.
This regular "top-off" is more than enough to combat self-discharge and keep multiple batteries healthy through the off-season without cluttering your garage with wires.
This strategy isn't just efficient; it aligns with our "Recharge, don't toss" philosophy. By using one quality tool intelligently, you consume less and keep all your batteries in peak condition, reducing waste across the board.
Anything We Missed?
You’ve got what it takes to handle common motorcycle maintenance like a pro.
You don’t just know how to do it, you get why it matters. That means no more stressing about dead batteries, and your bike’s always ready to hit the road.
Trust your skills, trust your gear, and just enjoy the ride!
Now we’d like to hear from you.
Did we miss one of your favorite methods of charging your motorcycle batteries or troubleshooting?
Or you might have a question about something.
Either way, let us know by leaving a comment below right now.
FAQ
Do Motorcycle Batteries Charge While Riding?
Yes, your bike’s charging system recharges the battery as you ride. However, it’s designed to maintain a healthy battery, not resurrect a completely dead one.
How Long Does It Take to Charge A Motorcycle Battery While Riding?
It can take hours of continuous highway riding to significantly charge a low battery, and it puts a lot of strain on your bike's alternator.
How to Charge a Harley-Davidson Motorcycle Battery?
A Harley's battery charge uses the same principles as any other motorcycle battery. Simply use a quality smart charger that is compatible with its specific battery type, whether it's AGM or Lithium.
Can You Start a Motorcycle With a Battery Tender Connected?
No, a tender or maintainer provides very low amperage and is not a jump starter. Attempting to start the bike can damage both the charger and the bike's sensitive electrical system.
Can a dead motorcycle battery be recharged?
If the battery is just discharged from sitting, a smart charger can bring it back to full health. If it's internally damaged or old, it probably won't hold a charge and will need to be replaced.
Can I charge a motorcycle battery at home?
Yes, using a dedicated smart charger in your garage or another safe, ventilated space is the standard and most recommended practice.
Can you charge a motorcycle battery with a regular battery charger?
If must, use only a charger with a low-amperage setting (under 4 amps), but a dedicated powersport charger is always the safest choice.


Leave a comment
All comments are moderated before being published.
This site is protected by hCaptcha and the hCaptcha Privacy Policy and Terms of Service apply.