


Whether it’s the battery of your motorcycle, your power tool for a weekend project, your child’s favorite toy, or a critical device like a smoke detector, not charging is a common problem that can bring your day to a halt.
You probably already know that you can have nickel-metal hydride (NiMH) or lithium batteries.
The chemical composition of these batteries has similar reasons why they fail to charge. The problems could include a dead battery, wiring issues, or improper placement on the charger.
However, lithium batteries require a deeper check before you start using them. They have a higher chance of becoming damaged, and then they will stop charging.
This guide cuts through the confusion, providing you with a diagnosis of why your battery is not charging.
We deliver clear, actionable steps to fix the problem, helping you save time and money for good.
Table of Contents
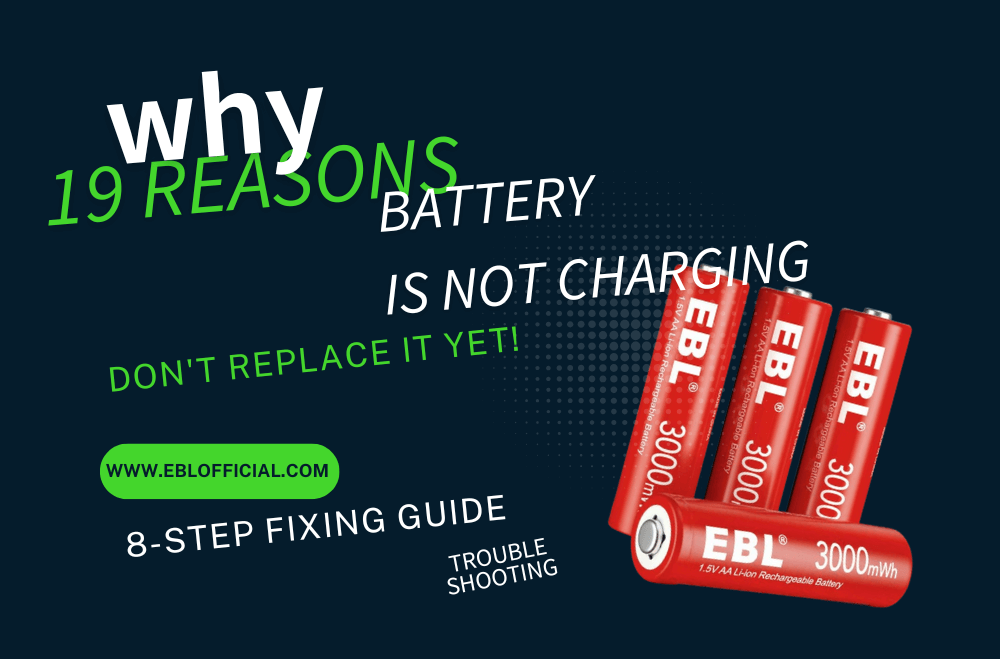
- Why Is My Battery Not Charging: 19 Common Reasons
- How to Fix It: An 8-Step Solution
- What If My Battery is for a Motorcycle: Troubleshooting
- Understanding EBL Charger Lights and Error Codes
- Anything We Missed?
- FAQ
Why Is My Battery Not Charging: 19 Common Reasons
You've plugged in your device, and... nothing.
Before you resign yourself to buying a replacement, let's play detective.
Running through this checklist will help you pinpoint the exact culprit behind your power problems.
1. A Bad Charger
Try to charge another rechargeable battery to confirm the charger is the problem. You should stop using this battery charger if the problem still exists with a different set of batteries.
So the cable on the charger could have some damage, causing the charger to provide improper voltages.
The voltage fluctuations could damage other batteries as a result. The issue of a flawed charger will affect both NiMH and lithium batteries.
2. Use the incorrect battery charger
Different types of batteries require different charging voltages and currents.
A charger that is not designed for your battery, you risk damaging the battery or the charger, or both.
For example, a lithium-ion battery requires a different charging voltage and current than a nickel-cadmium battery.
If you use the wrong charger, it can overcharge the battery or undercharge it, which can cause the battery to become unstable and potentially dangerous.
In some cases, using the wrong charger can also damage the device that the battery powers.
To avoid this situation, always use the charger that came with your device or a charger that is designed to work with your battery.
If you are not sure what type of charger to use, refer to the device's manual or contact the manufacturer.
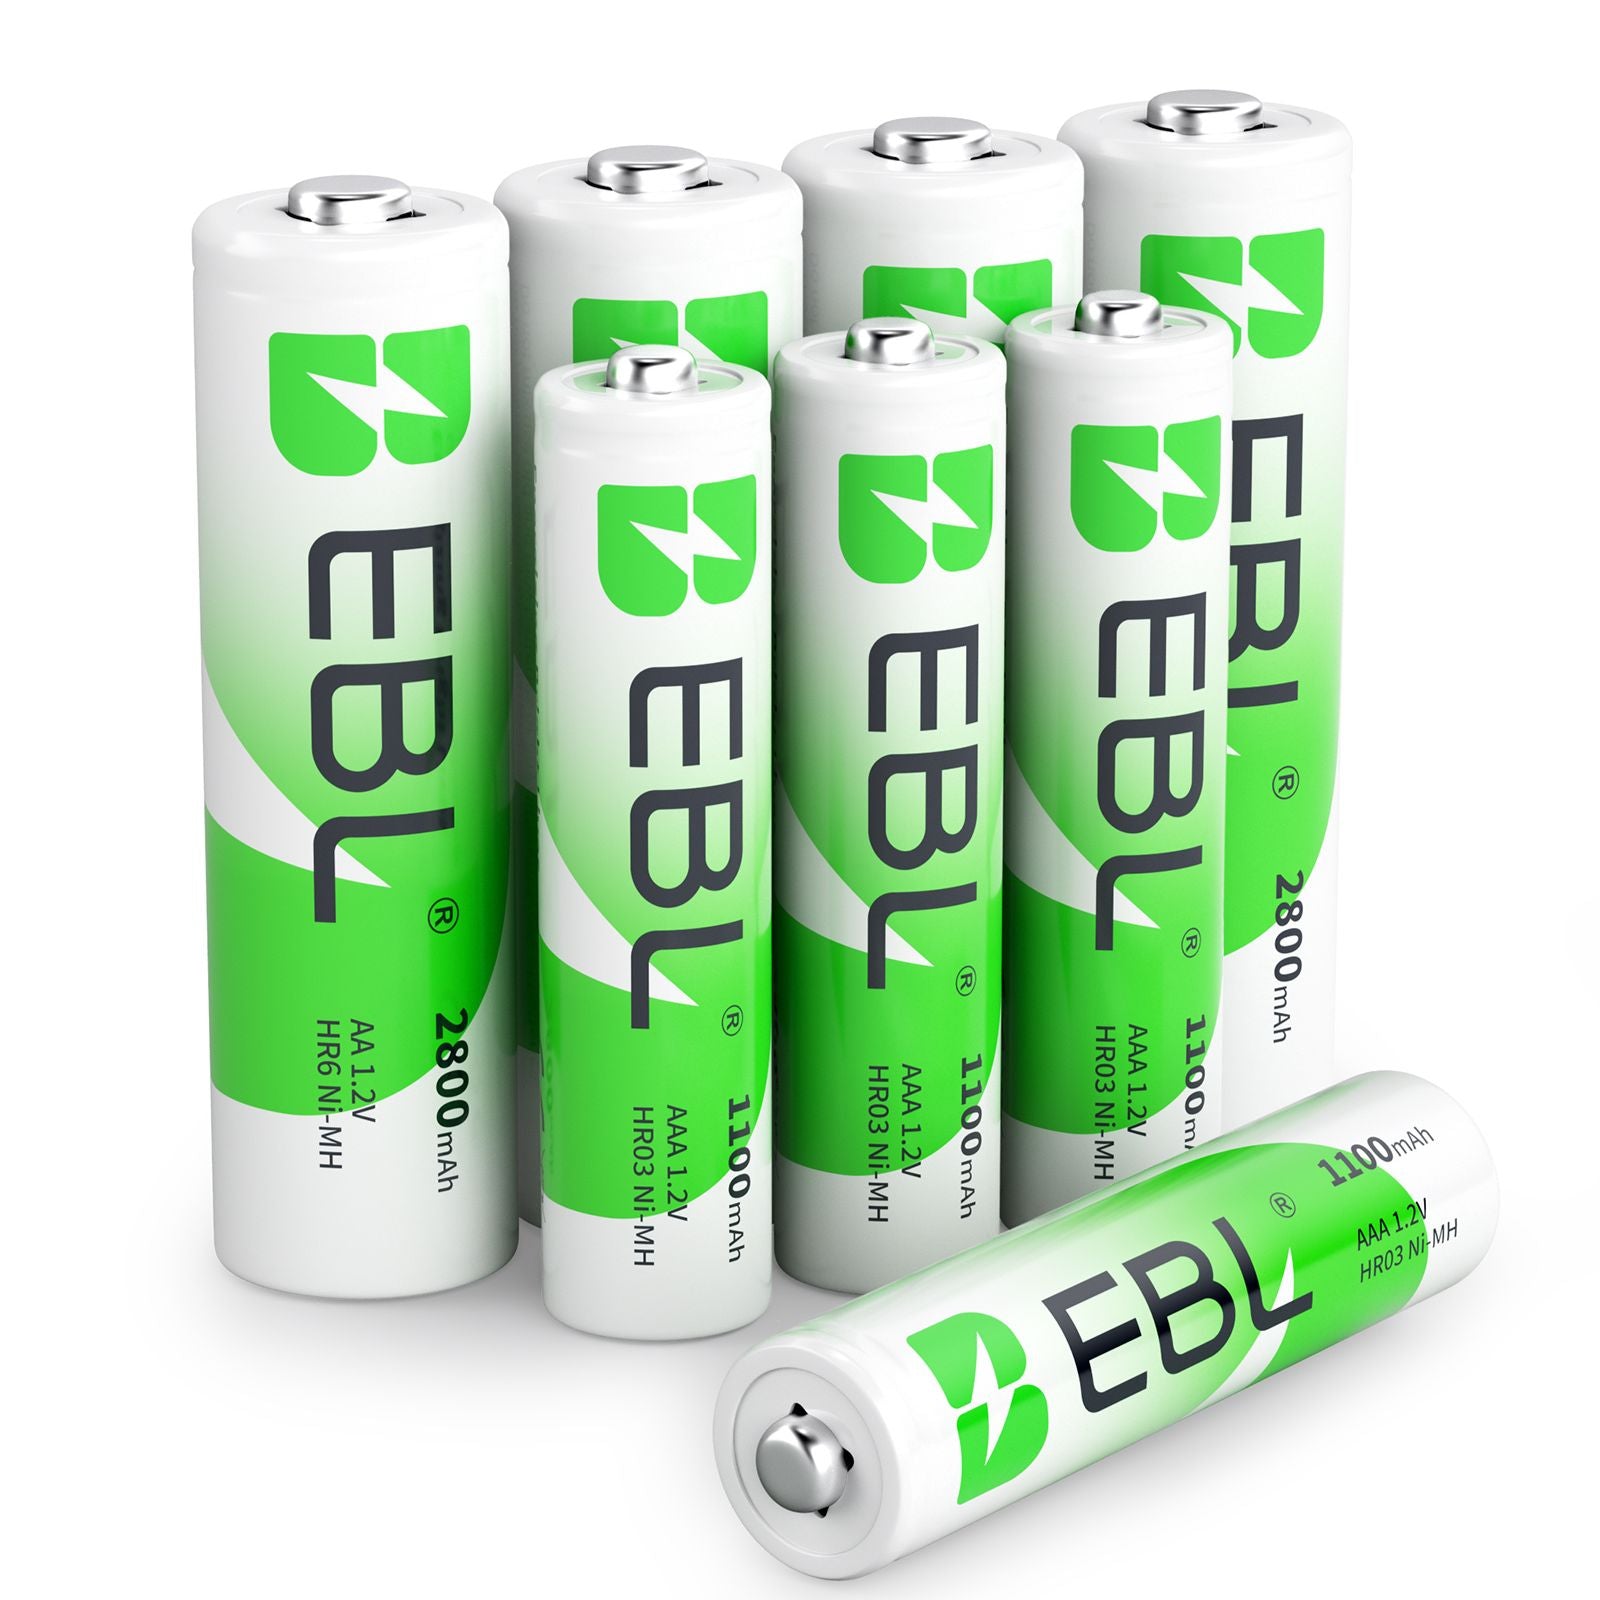
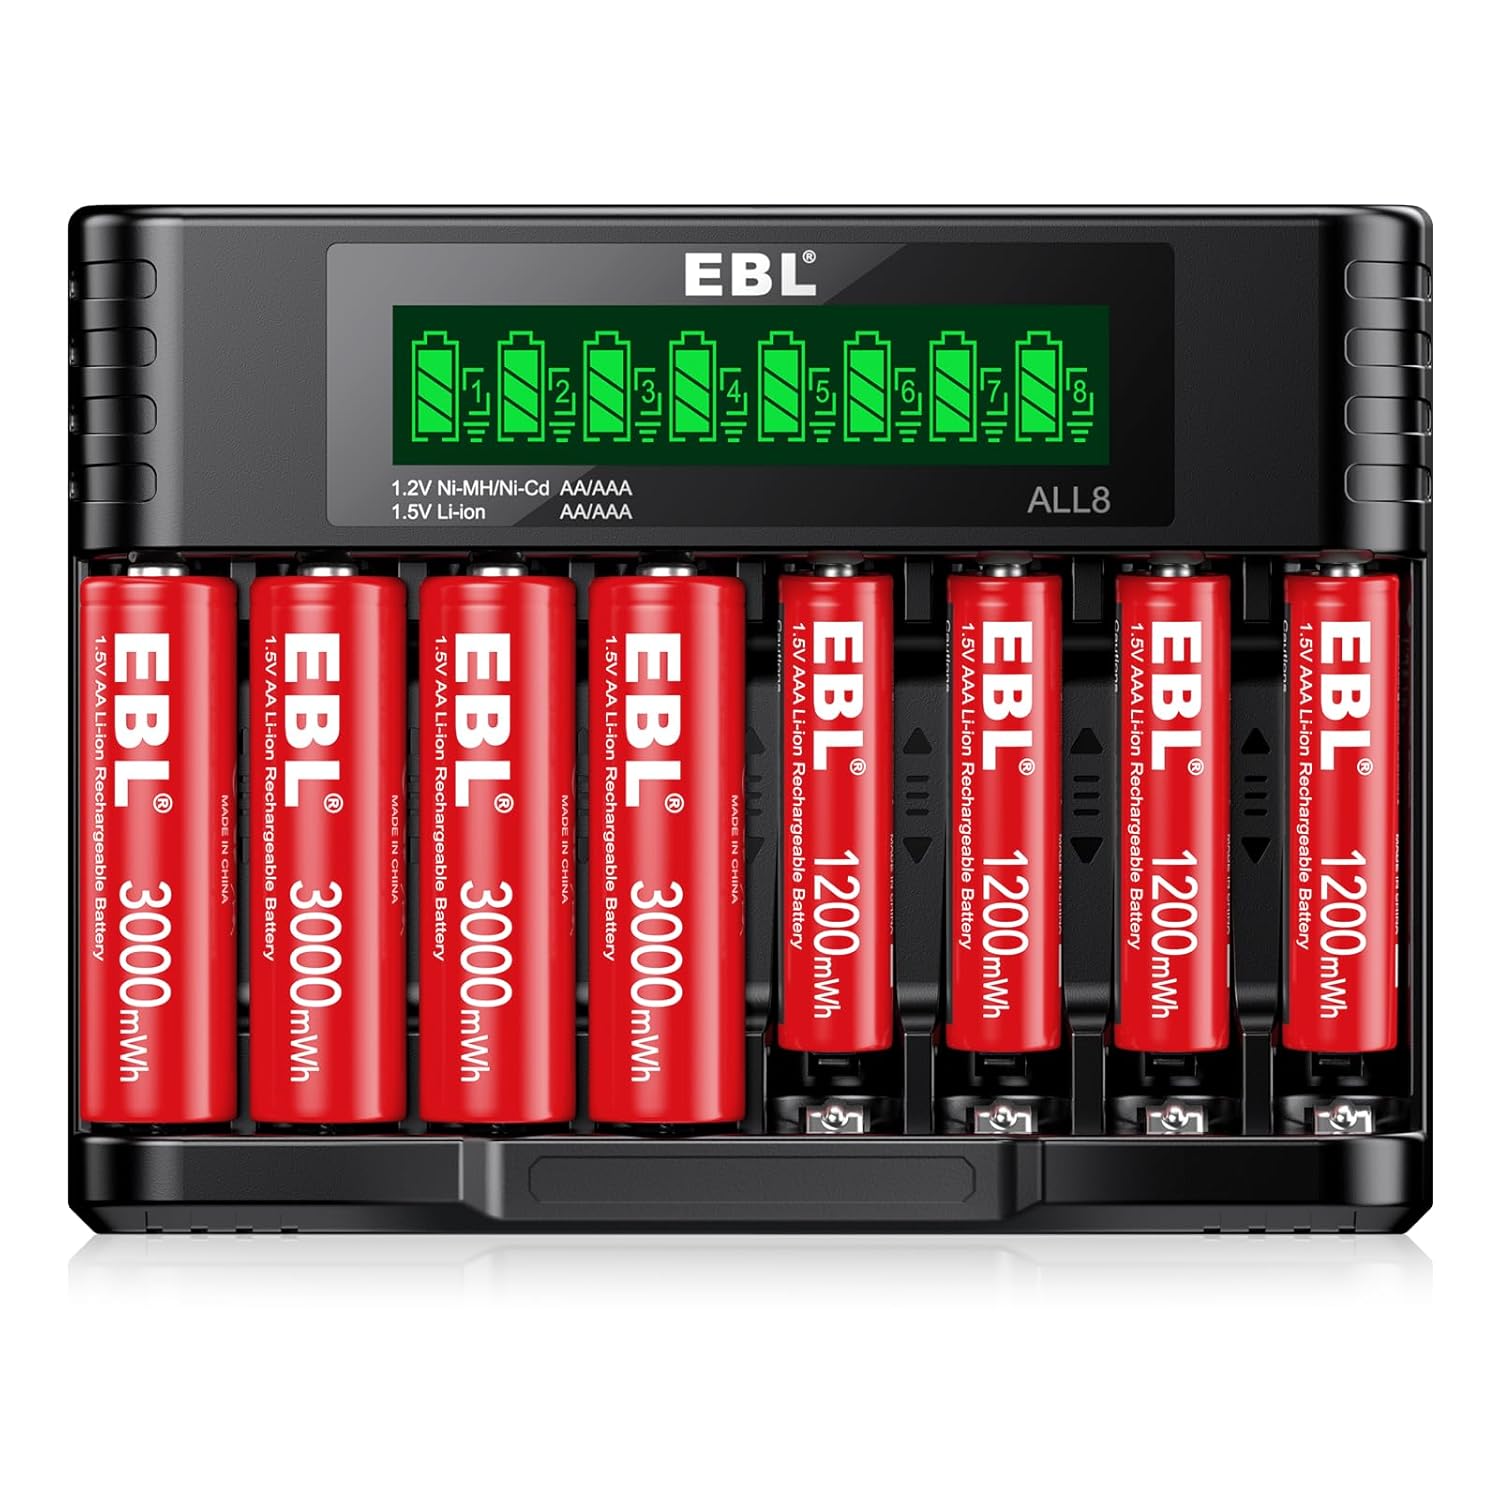
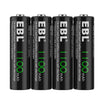
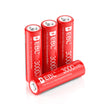
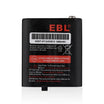
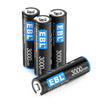
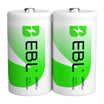
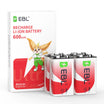
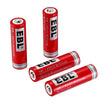
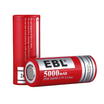
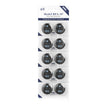
PS: EBL 1.5V red lithium-ion 3000mAh AA batteries and 1200mAh AAA 1.5V rechargeable batteries can only be charged with a dedicated lithium-ion battery charger, these lithium-ion batteries cannot be charged with any other type of battery charger.

3. Incorrect Placement of Positive and Negative Terminals
The positive and negative terminals of a battery are marked and are usually different in size or shape.
When you insert the battery into a device or charger, it is important to align the terminals correctly.
If you insert the battery with the terminals reversed, it can cause a short circuit that can damage the battery, the charger, or the device it powers.
A short circuit occurs when the positive and negative terminals of a battery come into direct contact with each other, bypassing the internal resistance of the battery.
This can cause a rapid discharge of energy and potentially generate heat, which can damage the battery or cause it to leak or even explode.
To avoid this situation, always check the markings on the battery and the device or charger and ensure that the positive and negative terminals are aligned correctly before inserting the battery.

4. Poor Connection
Normally, once you place the batteries in the battery charger properly, it will provide a suitable power flow.
A weak circuit can cause your batteries to fail to charge. It could be in the wires connecting the battery to the battery charger.
Though it is infrequent, an inadequate bond can damage the charger and batteries.
5. Damaged Terminals
If the terminals are damaged, you will not be charged. The problem develops as the battery charger ages, and there are shorts on the circuit boards.
Also, installing and removing the battery can bend the terminal ends of the battery charger.
As a result, you can pull the stops back into place.
It will be challenging for the cables to hold power if the ends do not contact the batteries.
Therefore, the batteries could charge slowly or fail to charge at all.
6. Extra-Low Battery (Deep Discharge)
Battery chargers can have difficulty understanding how many cells are in the battery when you over-discharge your batteries.
So, your charger can refuse to charge.
Over-discharge comes from long periods of use. Therefore, it is essential to remember to properly use or store the batteries.
7. A Dead Battery
When a battery is dead, it won't receive any charge.
In this case, you have to prove it by using another charger.
If the other charger fails too, it could be because you have a dead battery.
Your battery can die because of old age or power faults.
The power faults come from poor usage of your charger.
Also, if the battery charger is short-circuiting due to power faults, it can damage the cells in your battery.
8. Poor Balancing (In a Battery Pack)
Expect this problem if you use lithium-ion batteries.
If the cells do not have a proper balance, one will have a high voltage.
The charger can only ensure all cells get a charge to a certain level before being complete. It goes beyond the positive and negative cords.
The soldering on the boards ensures the wires can balance the charge to the cells.
9. Needs Full Discharge (Memory Effect)
When the batteries are removed from the charger and installed, the device powers off rapidly as if the batteries were empty, but the batteries show as fully charged in the charger.
This is mostly an issue for older Nickel-Cadmium (Ni-Cd) batteries.
They could develop a "memory" if not fully discharged before being charged again, making them think they were full when they weren't.
This is rarely the cause for modern Ni-MH and Li-ion batteries.
Related Blogs:
- Why Do Fully Charged Batteries Die Quickly? Reason And Solution.
- How To Bring Back 0V/Low Voltage NiMH Battery To Life
10. False Peaking
You'll find this cause in NiMH batteries.
Charge NiMH batteries with an EBL battery charger, which will check the voltage peak-to-valley range.
When everything is correct, it maintains the proper voltage.
When the battery reaches its peak. The charger will observe if the battery has a charge or not.
When your NiMH batteries won't hit their peak levels, it happens when the peak-to-valley range is vast. Such issues arise when you don't use the battery for a long time.
11. Broken Or Dead Fuse
The lithium and NiMH battery chargers can not work with a dead fuse.
Not all battery chargers have them, but if you need to check the fuse, it should be on the front.
Remember, a fuse may blow because it is old or an electrical impulse damaged it.
When the fuse is dead, the battery charger will not have access to a power flow to charge the battery.
Simply changing the fuse will fix this issue.
12. The Battery Is Old
If you check the above causes and your battery isn't charging, the battery could be old.
The EBL batteries can serve you well for around 300 charge cycles. You can also equate it to two years.
Once the batteries are old or damaged, they lose their prime functionality of picking up and holding a charge.
You will need to replace the batteries if they are over two years of age.
13. A Faulty Power Outlet
Before you blame the charger or battery, check the source.
Plug a lamp into the same wall outlet to confirm it’s providing power. It's a simple check that can save you a lot of headaches.
14. A Physical Obstruction (Like a Device Case)
If you're trying to charge a device like a Ring Doorbell or a portable game controller, the protective case itself might be preventing the charging cable from seating fully.
Try removing the case and plugging the cable in again.
15. Hidden Water Damage
A device that was briefly exposed to moisture might seem fine on the outside, but corrosion could be forming on the internal charging port and circuits, creating a barrier that stops electricity in its tracks.
16. A Device Software Glitch
Sometimes the hardware is fine, but the device's software is confused. This is also a common issue on smart devices. A simple reboot can often reset the software and resolve the issue.
17. The Charger is Low-Quality or Unreliable
A cheap, uncertified charger might not have the proper circuitry to handle voltage fluctuations or communicate correctly with the battery's BMS, leading to charging failures.
18. The Problem is with the Device, Not the Battery
If you've tried a new, working battery and it still won't charge in your device, the problem may lie with the device’s charging port or internal power circuits.
19. Extreme Hot or Cold Temperatures
Batteries don’t like it too hot or too cold. If the ambient temperature is below freezing or soaring high, a battery’s safety sensors will often prevent it from charging to avoid damaging the cells.
How to Fix It: An 8-Step Solution
Let's roll up our sleeves and walk through the solutions, starting with the easiest and safest checks first.
This step-by-step method will help you figure out exactly how to fix a lithium-ion battery that won't charge and tackle issues with many other battery types as well.
Step 1: Check the Basics (Charger, Cable, & Outlet)
This might sound obvious, but it solves a surprising number of problems.
Before you assume the worst, check your power supply. This is the very first thing to do if your device shows a "battery plugged in, not charging" signal.
- Test the Outlet: Plug a lamp or another working device into the wall socket to make sure it’s live.
- Inspect the Cable: Look for any kinks, frays, or damage on your charging cable. These wires lead a tough life, and a break inside the cable is a common point of failure.
- Check the Charger: Try a different, compatible charger if you have one available. The charger itself can fail internally, even if its indicator light turns on.
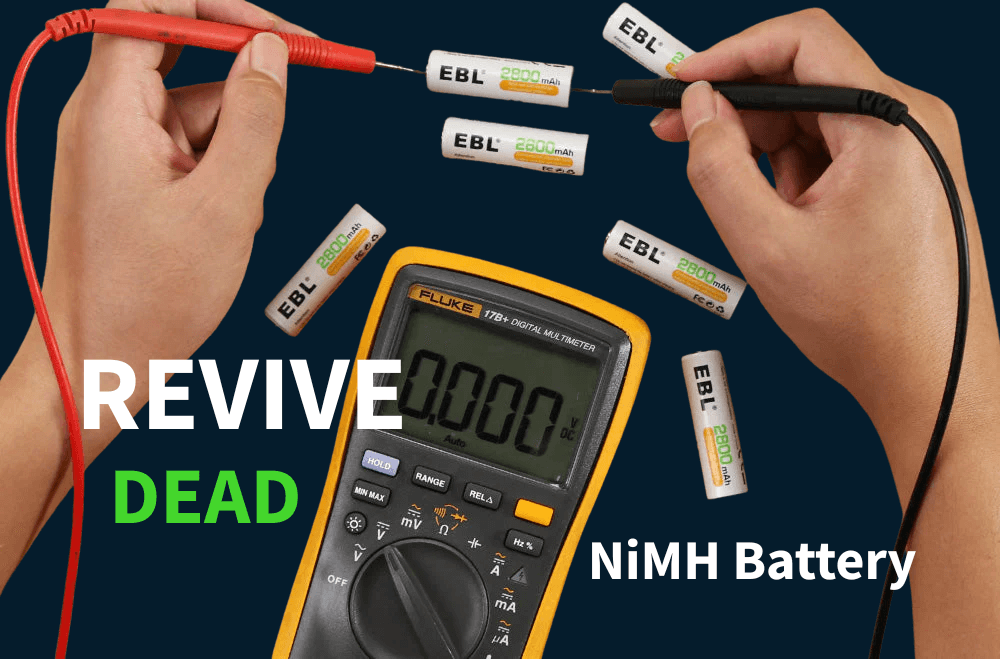
Step 2: Check the Battery’s Voltage with a Multimeter
Time to put on your detective hat.
A multimeter is a simple tool that can tell you a battery's voltage, giving you a clear picture of its health.
- How to Use It: Set your multimeter to the "DC Voltage" setting (marked with a V and a straight line). Touch the red probe to the battery's positive (+) terminal and the black probe to the negative (-) terminal.
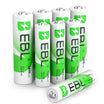
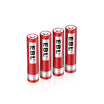
- What It Means: A healthy rechargeable Ni-MH battery should read around 1.2V. An EBL 1.5V Li-ion battery should be at 1.5V (other brands are 3.6V-3.7V). If the voltage is extremely low (e.g., under 0.6V), the battery is in a deep discharge state, and your charger may not recognize it.
Step 3: “Wake Up” a Sleeping Lithium-Ion Battery
If your multimeter shows a very low voltage on a lithium-ion battery, it’s likely in a protective "sleep mode."
- Safety First: Do not attempt this on any battery that is bulging, leaking, or has any signs of physical damage.
- The Solution: The safest way to revive a sleeping battery is to use a high-quality intelligent charger. Many EBL smart chargers have a feature that can detect these low-voltage batteries and apply a special low-current "wake-up" charge (sometimes called a trickle charge) to safely bring the voltage back up to a normal level before beginning the standard charging process.
Also read: How To Bring Back 0V/Low Voltage NiMH Battery To Life
Step 4: Use a High-Quality, Compatible Charger
A quality smart charger is an investment in the lifespan of your batteries.
EBL chargers, for example, come with multiple protection features like overcharge protection, short circuit protection, and temperature monitoring to ensure a safe and effective charge every time.
This prevents issues like "false peaking," where a charger incorrectly stops before the battery is full.
Step 5: Clean All Connection Points
Dirt, dust, and corrosion are like roadblocks for electricity.
- What to do: Take a dry cloth or a cotton swab and gently wipe the metal contacts on both the battery and inside the charger. For stubborn grime, you can lightly dampen the swab with isopropyl alcohol.
A clean connection ensures power can flow without resistance.
Step 6: Test the Battery with a Different Device
If you suspect the battery is not charging, it's worth checking if the problem is actually the device.
Place the batteries in a different, compatible device (like another remote control or toy). If they work, you've isolated the problem to the original device’s circuitry or contacts.
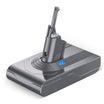
Step 7: Address Specific Device Issues (Dyson, Ring Doorbell)
High-performance devices often have unique battery packs.
If your Dyson battery not charging issue persists after checking the charger, the problem is likely internal to the battery pack—either a failed cell or a fault in its Battery Management System (BMS).
Similarly, if it's the issue with your Ring doorbell battery charging, the solution often involves the same steps: check the charging cable, clean the contacts on the battery and the doorbell, and ensure the battery isn't at the end of its life.
Step 8: Get a Reliable Replacement If Needed
If a battery is old, damaged, or simply refuses to be revived, the best and safest solution is to replace it.
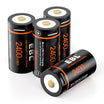
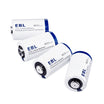
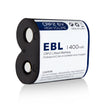
EBL offers a huge range of high-quality replacement batteries that often exceed the performance of the original, giving you more power for your money.
While these steps solve most charging problems for common household batteries, some devices, like motorcycles, have their own unique set of challenges.
Let's look at what to do when your motorcycle battery gives you trouble.
What If My Battery is for a Motorcycle: Troubleshooting
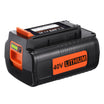
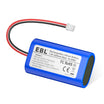
Since EBL's high-performance motorcycle batteries are built with modern Lithium Iron Phosphate (LiFePO4) chemistry, the troubleshooting process is different from old-school lead-acid batteries. Forget about checking for sulfation; we'll focus on what really matters for this advanced technology.
Check the Battery Management System (BMS)
Your EBL LiFePO4 motorcycle battery has an onboard computer called a Battery Management System (BMS).
This BMS is the battery’s brain, and its main job is protection.
If you haven't ridden your bike in a long time, the battery's voltage can drop so low that the BMS puts it into a protective "sleep mode."
This isn't a failure; it's a safety feature designed to prevent permanent damage from over-discharge. An old lead-acid charger won't even know it's connected.
You need a battery charger that is specifically designed for LiFePO4 batteries, which can communicate with the BMS.
They can:
Send a special, low-current signal to safely "wake up" the sleeping BMS.
Once the BMS is awake, the charger will then begin the normal, high-current charging cycle appropriate for LiFePO4 chemistry.
This is why using a dedicated LiFePO4-compatible charger is not just a recommendation—it's a requirement for safely maintaining and reviving these advanced batteries.
Use a LiFePO4-Specific Charger
This is the most important rule for lithium motorcycle batteries: you cannot use a standard lead-acid battery tender or charger.
LiFePO4 batteries require a specific charging profile (algorithm) to charge safely and effectively.
Using the wrong charger can damage the battery or simply fail to charge it at all.
A dedicated LiFePO4 charger is designed to communicate with the BMS, wake the battery from sleep mode if necessary, and deliver the precise voltage needed.
This ensures you get the full benefit of LiFePO4 technology, such as its ability to handle high-current fast charging and its superior safety.
Test the Motorcycle's Charging System
Every motorcycle has its onboard charging system (the stator or alternator and a regulator/rectifier) that recharges the battery as you ride.
If this system fails, it won't matter how new your battery is—it will eventually die.
A simple way to check this is to test the battery's voltage with a multimeter when the engine is off, and then again when the engine is running.
The voltage should be higher when the bike is running (typically around 13.5-14.5V). If it isn't, the problem is likely with your motorcycle, and it's time to see a mechanic.
Understanding EBL Charger Lights and Error Codes
Your EBL battery charger is constantly trying to talk to you through its blinking and solid lights? Instead of guessing, let's decode those signals so you know exactly what your charger is saying and what to do about it.
Charger Flashing or Showing an Error
A flashing light or an "ERR" message is your charger’s way of saying something is wrong. Based on our internal testing, this usually points to one of two things:
If the Charger Flashes or Shows an "ERR" Signal
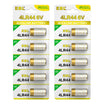
- You've Inserted an Incompatible Battery: Our chargers are clever enough to know when they've been fed the wrong thing. If you accidentally put in a non-rechargeable battery, like a standard Alkaline, the charger will refuse to power it up for your safety and will often signal an error.
- The Battery is Damaged or Has Zero Voltage: The charger has detected that the battery is permanently damaged or its voltage is at zero. The charger’s safety logic identifies this as a "bad battery" and will not attempt to charge it.
- An Internal Charger Fault: On rare occasions, if the charger's lights are flashing even with no batteries inserted, it could indicate an issue with an internal component of the charger itself, such as a capacitor.
What should I do: First, visually inspect the battery. If you see any swelling, leaking, or physical damage, it is unsafe and must be recycled immediately. If the battery looks fine but still triggers the error, the charger has confirmed an unrecoverable internal fault. The battery should be replaced.
If the Charger Never Stops Charging
- The Problem: You’ve had a set of Ni-MH batteries in the charger for a very long time (even 20+ hours), but the light never turns green or shuts off to indicate they're full.
- The Method: This specific issue is often caused by the charger failing to detect the small voltage drop (known as -ΔV) that signals a Ni-MH battery is full. We suggest removing the batteries, re-inserting them, and let them charge for about half an hour. Often, this reset allows the charger to correctly recognize the full charge and stop the process.
A Quick Note on Polarity (+/-)
This is a simple but vital check. Every battery has a positive (+) and negative (-) end, or terminal.
Inserting a battery backwards is a common mistake that will prevent charging and can easily cause a short circuit, which may damage both the battery and the charger.
Always take a moment to match the +/- symbols on the battery with the corresponding markings in the charger.
Last Thoughts
Did we miss the specific reason your battery won't charge?
Do you have a unique charging problem you've solved?
Let us know in the comments below!
Your experience helps the entire EBL community get more power with less waste.
And if you've determined it's truly time for a replacement, we've got you covered.
Explore EBL's full range of high-performance batteries and smart chargers today!
Related blogs:
19 comments
Phiip Elder
My batteries for my EGO trimmer and blower will not charge the green light flashes twice then the red light comes on.
Tom Hackett
One reason rechargeable batteries appear to fail is that there is corrosion (sometimes not really visible) or other schmutz on one or the other of the battery terminals. You put a pair of batteries in the charger, and the light glows red (charging). After a few seconds, it begins to blink (error), and the batteries don’t charge. Once you’ve isolated which battery is having the problem, try scouring both terminals with a fine emory paper or cloth. You can even use one of those emory boards people use to soothe their fingernails. This has reduced the waste of “dead” batteries for me by about 90%.
Liam
Brought the charger from Amazon brans new which includes 4 AA and 4 AAAA rechargeable batteries. Charged them as per directions, from red it went to green, took it out only to find out they are not charged at all. I keep retrying, as I take them out after showing green on the charger, it discharges rapidly as though it was never charged at all because when I put it back right after I pulled it, it shows red again and the cycle continues. It is frustrating@!
Janet Finn
I have a GO GO Elite Traveler. The Battery and charger were both new in April 2024. all was fine until two days ago. When I plug it in to charge, Naturaly the power button turns Red as it should. PROBLEM the charging light also turns Red. we all know it should be green. Does anyone know why this is happening? Better yet can anyone offer a solution.? Yes I have tried different outlets. Thanks a lot. JF in Ft Lauderdale
Alan
I have AAA NIMH batteries that have only been charged once. I tried to recharge 8 and 6 just keep flashing full charge. They are actually dead. No idea why they are brand new.
Leave a comment
All comments are moderated before being published.
This site is protected by hCaptcha and the hCaptcha Privacy Policy and Terms of Service apply.