


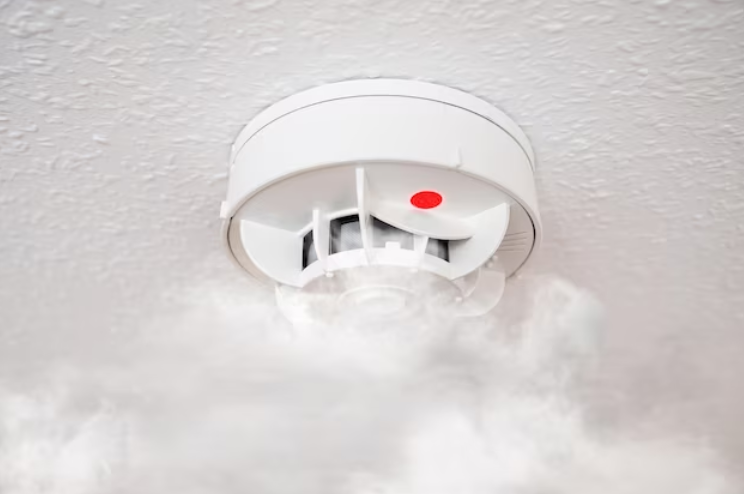
Imagine coming home after a long day, only to discover your smoke alarm beeping incessantly due to a low battery. Annoying, right? Don't let this happen to you! Instead, learn how to replace the 9V battery in your smoke alarms.
This guide will equip you with the power to make a smooth switch-up of your smoke alarm batteries, avoiding any annoying chirping and ensuring the safety of everyone in your home. Put these few steps into practice, and you'll be rid of those pesky alarms in no time.
Here’s what you need to know:
Grab the Right Tools for Battery Replacemen

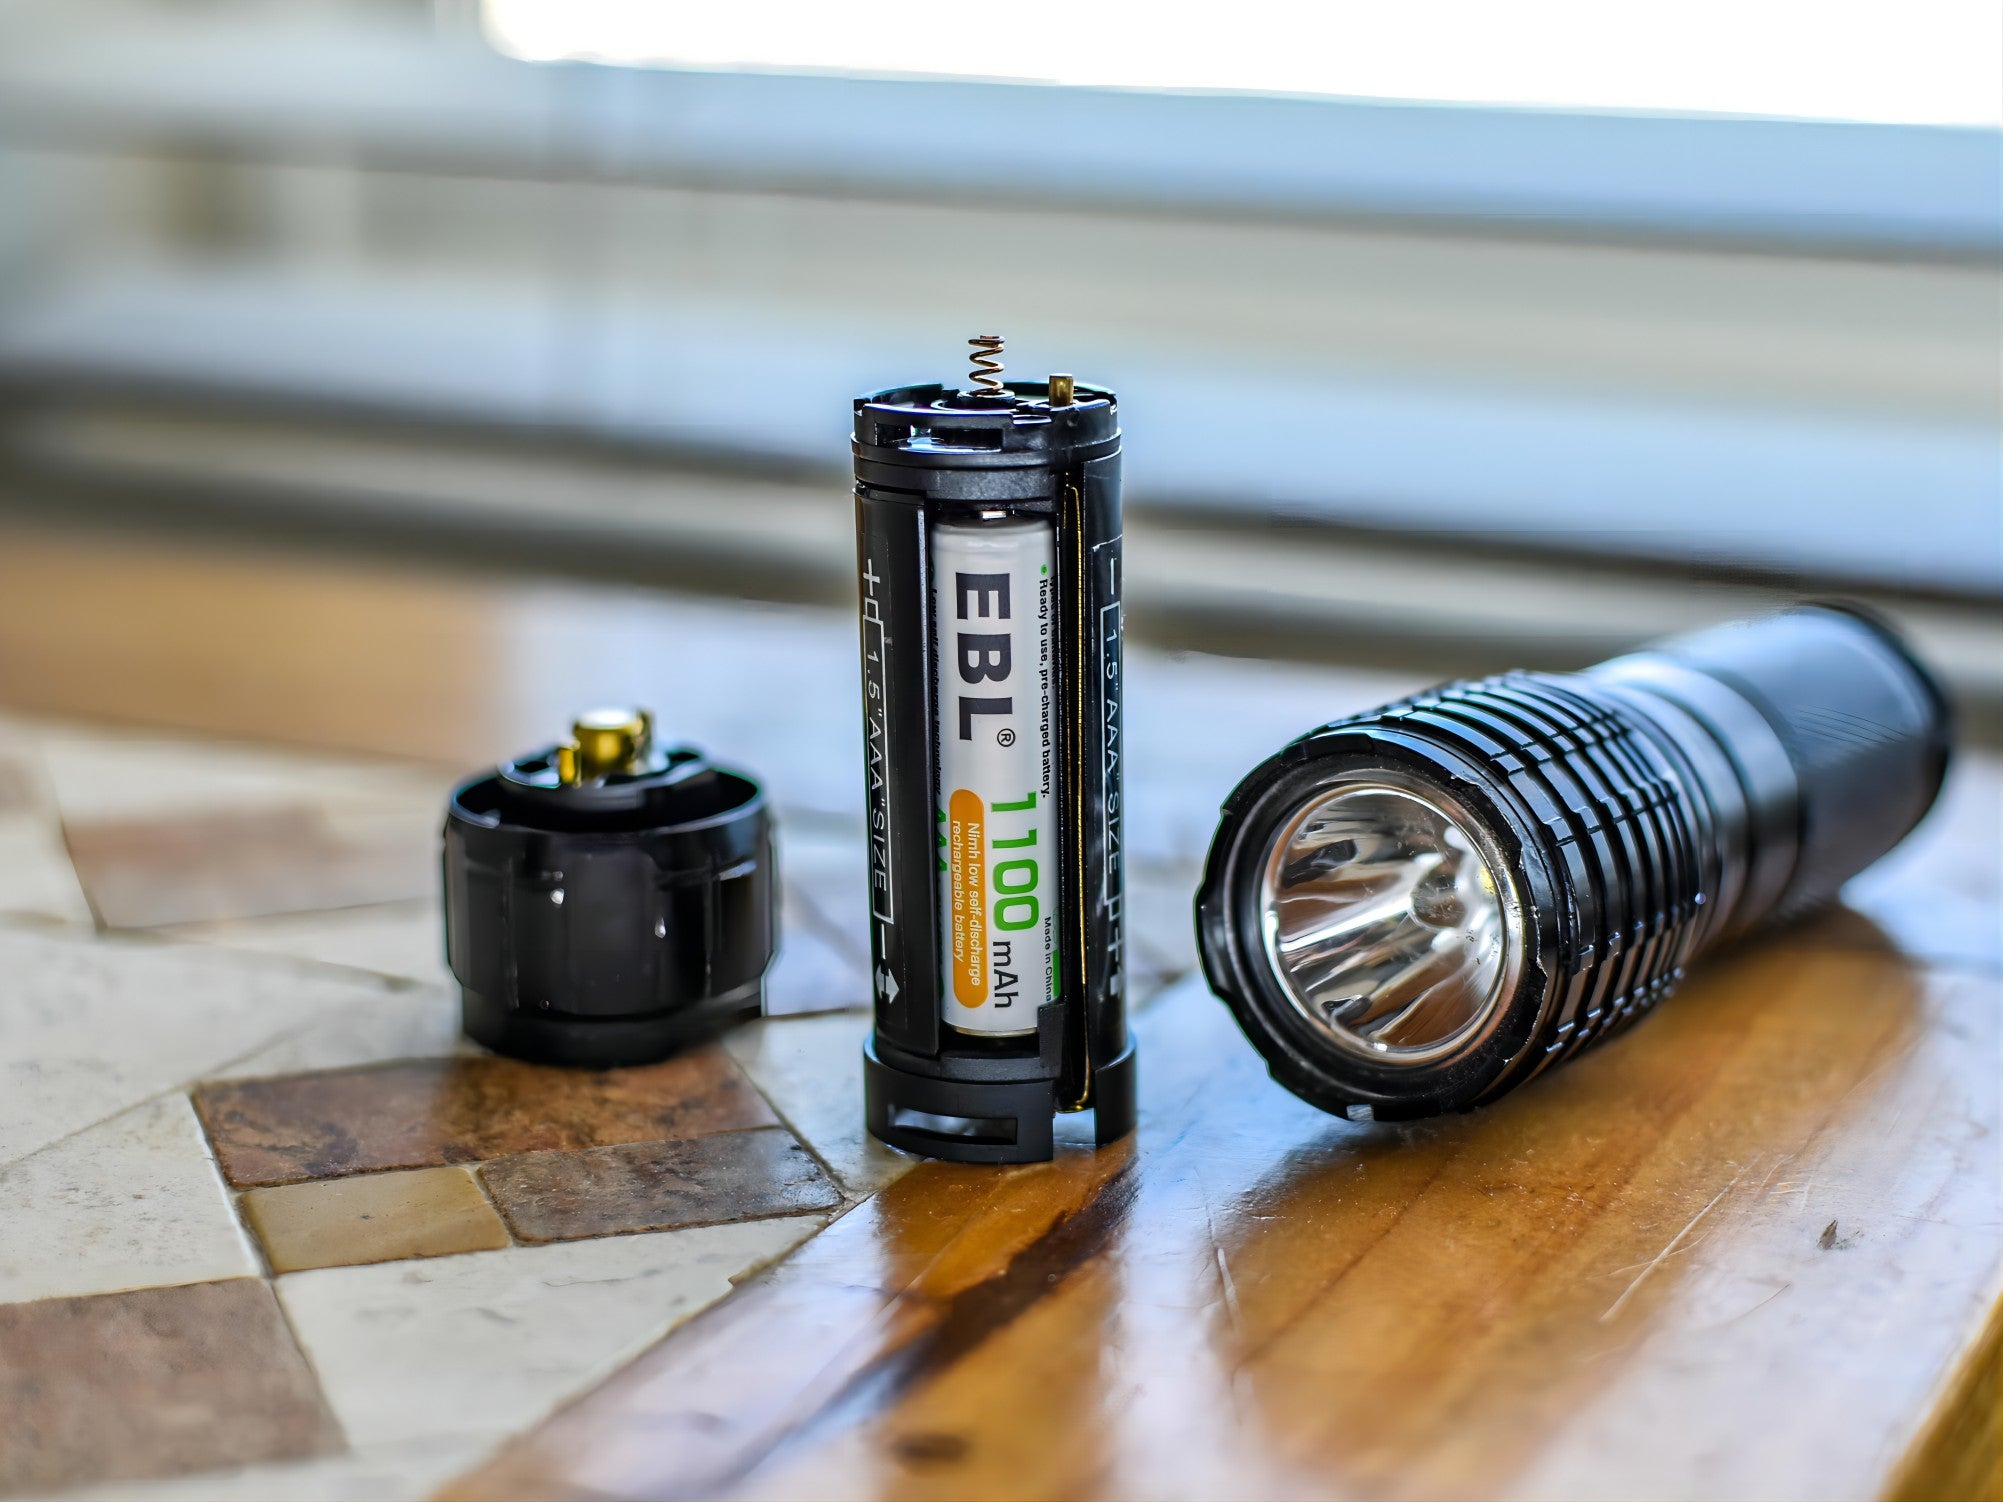
Before beginning to replace the battery in your smoke detector, gathering the relevant tools is essential. You'll need a new 9V battery, a small screwdriver (if required), and a secure ladder or step stool to get to the alarm. In addition, take note of what type of smoke alarm you have and which specific battery it requires. Being prepared ahead of time will help the process go quickly and smoothly.
Step-by-Step Guide: Replacing the 9V Battery in Smoke Alarms
Step 1: Alerting others and ensuring safety
Before starting the battery replacement process, inform others in your household to avoid false alarms. Additionally, ensure your safety by turning off any relevant electrical circuits and using a stable ladder or step stool to access the smoke alarm.
Step 2: Locating the smoke alarm and accessing the battery compartment
Most smoke alarms are installed on the ceiling or high up on the walls. Locate the smoke alarm that requires a battery replacement. If the smoke alarm has a cover, remove it carefully to access the battery compartment. Some smoke alarms may require a small screwdriver to remove the cover.
Step 3: Removing the old battery
Unlock the battery compartment and yank out the old 9V battery. Note its connection and make a mental note of how it's oriented. Boom, you're ready for some fresh power!
Step 4: Checking for corrosion and cleaning if necessary
Check out the battery terminals for any signs of corrosion or dirtiness. If you spot any corrosion, use a clean cloth or cotton swab with a mild cleaner (like vinegar) and gently remove the gunk. Let it dry before moving forward.
Step 5: Inserting the new 9V battery correctly
Take the new 9V battery and align it with the battery compartment, ensuring the polarity matches the markings inside the compartment. Insert the battery firmly but gently, making sure it fits securely.
Step 6: Closing the battery compartment securely
If the smoke alarm has a cover, carefully place it back over the battery compartment and secure it in place. For smoke alarms with screws, use the screwdriver to reattach the cover securely.
Step 7: Testing the smoke alarm after battery replacement
Once the battery is replaced and the smoke alarm is closed correctly, testing the alarm's functionality is essential. Press and hold the test button on the smoke alarm to check if it sounds. If the alarm doesn't go off or emits a weak sound, recheck the battery connections and try again. If the issue persists, consult the smoke alarm's user manual or contact the manufacturer for further assistance.
Troubleshooting and Additional Tips When Replace 9V battery in Smoke Alarms
If you’re facing some issues, then this troubleshooting guide will help you sort it out:
Common issues and troubleshooting techniques
Smoke alarms may sometimes beep or chirp even after battery replacement. This can indicate a different issue, such as a faulty smoke alarm or a low battery warning. Refer to the smoke alarm's user manual for troubleshooting steps, or consider replacing the entire unit if necessary.
Ensuring proper functioning of the smoke alarm
Regularly test your smoke alarms by pressing the test button to ensure they function correctly. Additionally, keep the smoke alarms clean and free from dust or debris, as these can interfere with their performance.
Scheduling regular battery checks and replacements
To maintain optimal safety, make it a habit to check the batteries in your smoke alarms at least twice a year. Consider scheduling battery replacements during daylight saving time changes as a convenient reminder. It's better to be proactive and replace the batteries before they run out entirely.
Conclusion
Maintaining your smoke alarms is critical to providing the early warning necessary in the event of a fire. Take your time - proactively prioritize the safety of your household by replacing the batteries regularly and following the instructions outlined in this article. Stay safe, and protect your home and loved ones from potential fire hazards.
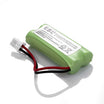
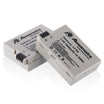
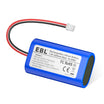
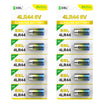
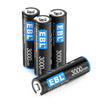
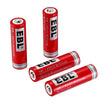
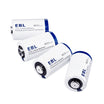
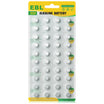
EBL 9V Batteries recommend:


Leave a comment
All comments are moderated before being published.
This site is protected by hCaptcha and the hCaptcha Privacy Policy and Terms of Service apply.